To go from zero to your first pull-up, start by evaluating your current strength and mobility. Build a solid foundation with push-ups, planks, and core work. Use assisted pull-up methods like resistance bands or machines to practice controlled reps. Incorporate negatives, slow eccentric pulls, and dead hangs to boost control and endurance. Set clear goals, track your progress, and stay consistent. Keep going, and you’ll discover how to master your first pull-up step by step.
Key Takeaways
- Assess your starting strength and mobility to choose appropriate assistance methods and identify weaknesses.
- Build foundational upper body and core strength with push-ups, planks, and handstand progressions.
- Use assisted pull-ups with resistance bands or machines and practice negative reps for eccentric strength.
- Develop grip endurance through dead hangs and gradual hang time increases.
- Set clear goals, track progress consistently, and gradually increase difficulty to reach your first unassisted pull-up.

Resistance Bands, Pull Up Assist Bands – Workout Bands, Eexercise Bands for Working Out, Fitness, Training, Physical Therapy for Men Women – Multicolor
100% Natural Latex
As an affiliate, we earn on qualifying purchases.
As an affiliate, we earn on qualifying purchases.
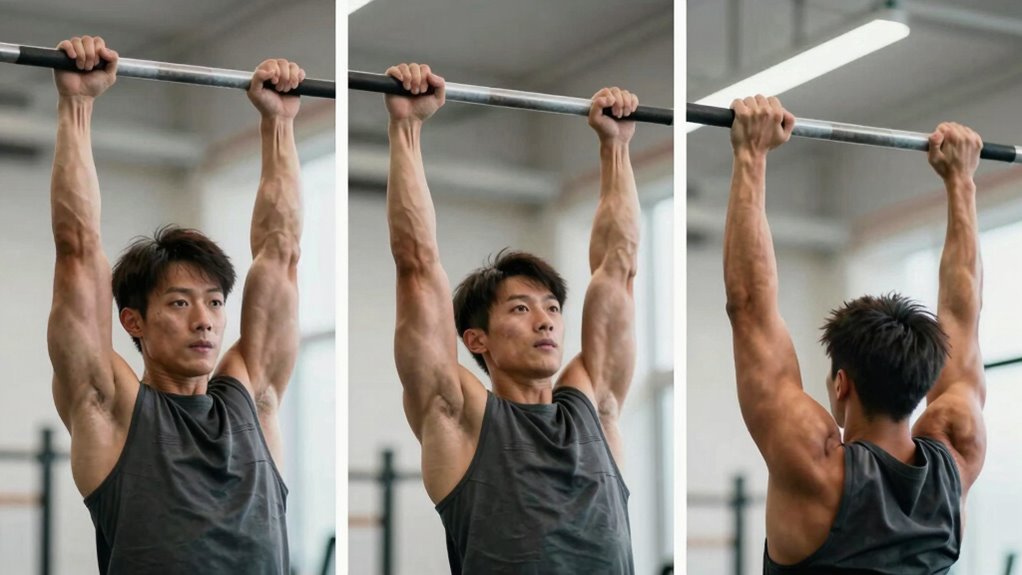
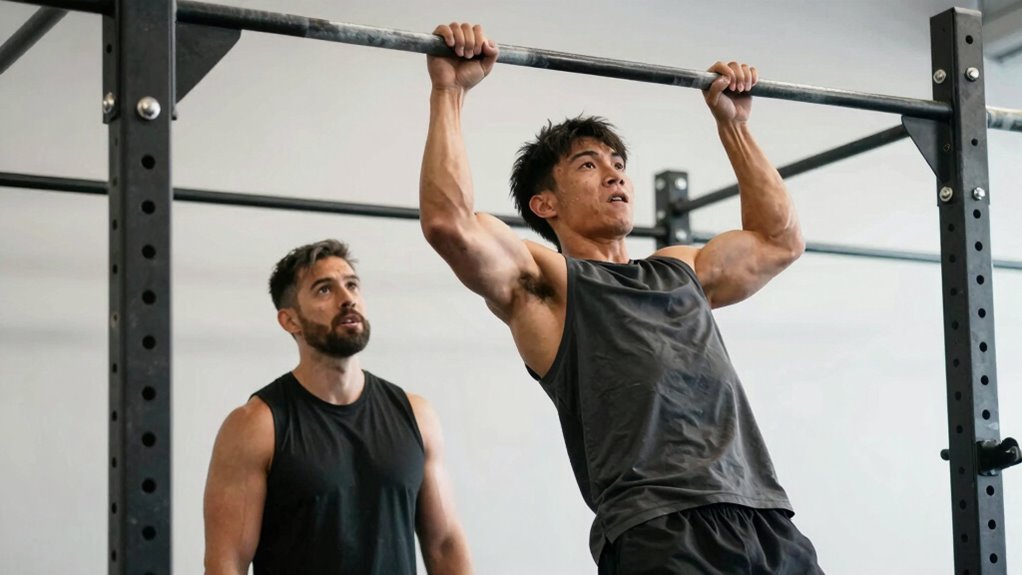
Why Pull-Ups Are the Best Test of Upper Body Strength
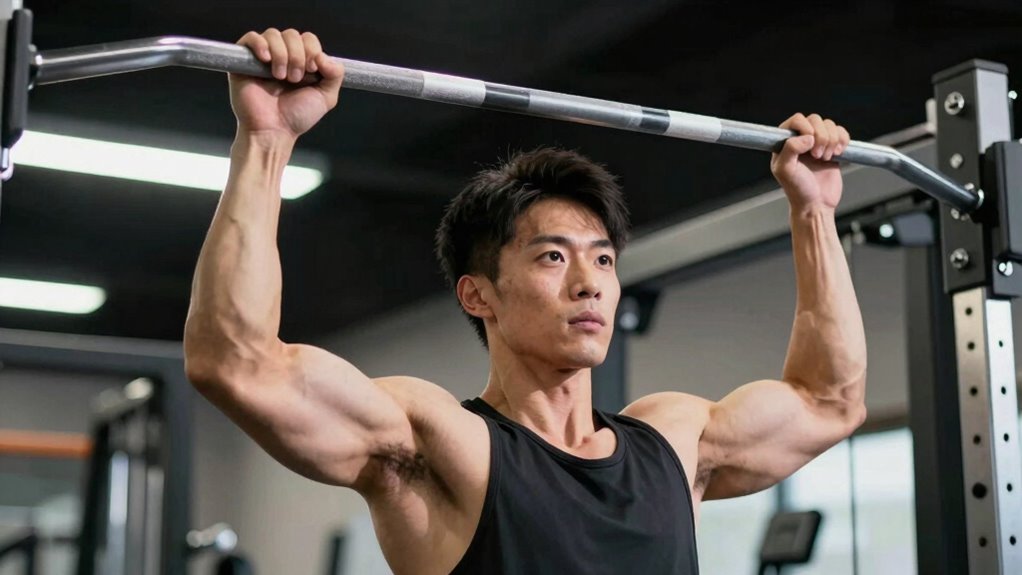
Pull-ups are widely regarded as the best test of upper body strength because they effectively measure multiple muscle groups simultaneously. When you perform a pull-up, you engage your back, shoulders, arms, and core, making it a thorough strength training exercise. This movement requires not just raw power but control and stability, which are key indicators of functional strength. Unlike other exercises that isolate muscles, pull-ups challenge your entire upper body, revealing your true strength. They also help identify weaknesses in your muscles and help track progress over time. Because they mirror real-world movements, pull-ups are an essential benchmark in strength training routines. By mastering pull-ups, you develop a solid upper body foundation that enhances overall fitness and athletic performance. Progression techniques can help beginners build up the necessary strength gradually and safely.
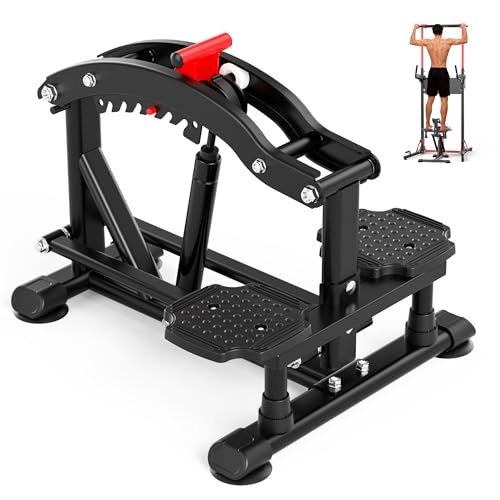
ONETWOFIT Pull Up Assistance Machine 660 LBS, Multi-Function Adjustable Power Assist for Pull Up Bar/Power Tower/Dip Station/Gymnastic Bar, Home Gym Strength Training Fitness Equipment (Black)
2026 Upgraded Hydraulic Boost System: Experience ultra-smooth assisted pull-ups with our patented hydraulic mechanism. Unlike traditional pull up…
As an affiliate, we earn on qualifying purchases.
As an affiliate, we earn on qualifying purchases.
How to Assess Your Starting Strength, Mobility, and Equipment Needs

Before jumping into pull-up progressions, it’s vital to evaluate your current strength, mobility, and equipment options. Use assessment techniques like testing your maximum reps or trying assisted pull-up variations to gauge your starting point. Pay attention to your mobility by performing simple mobility drills that target shoulder and thoracic spine flexibility—these will reveal any limitations that could hinder progress. Check your available equipment, such as a sturdy pull-up bar, resistance bands, or a pull-up assist machine. Knowing where you stand helps you tailor your training plan effectively. If you’re lacking strength or mobility, don’t worry; identifying these areas allows you to incorporate specific exercises or drills to improve before attempting full pull-ups. This assessment sets a solid foundation for your journey.

AIXPI Grip Strength Trainer, Hand Grip Exerciser Strengthener with Adjustable Resistance 11-132 Lbs (5-60kg), Forearm Strengthener, Hand Exerciser for Muscle Building and Injury Recover Black 1 Pack
Comfortable and Durable: The grip handle is ergonomically designed and wrapped in a soft material to make your…
As an affiliate, we earn on qualifying purchases.
As an affiliate, we earn on qualifying purchases.
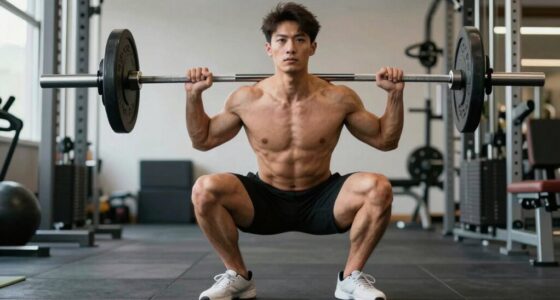
Build Your Foundation With Push-Ups, Planks, and Core Work

Building a strong foundation with push-ups, planks, and core exercises prepares your body for more advanced pull-up work. These movements enhance shoulder stability, core strength, and overall control, which are essential for progress. Incorporate handstand progressions to develop balance and shoulder endurance, boosting your confidence in supporting your body weight. Kettlebell swings also strengthen your hips, glutes, and core, translating to better pull-up mechanics. Focus on maintaining proper form during push-ups and planks to build muscular endurance and joint stability. A solid core acts as the engine behind all upper-body movements, making it easier to progress toward full pull-ups. Additionally, understanding a safe flying environment helps prevent accidents and injuries during your training sessions. By laying this groundwork, you set yourself up for success as you advance toward more challenging pull-up variations.

Iron Core Athletics Pull-Up Assistance Bands – Complete Set of Long Loop Resistance Bands 5-120 lbs for Men & Women | Ideal for Strength Training, Powerlifting, Home & Gym Workouts
COMPLETE RESISTANCE BAND SET FOR ALL FITNESS GOALS – Our 5-pack of Long Loop Resistance Bands includes all…
As an affiliate, we earn on qualifying purchases.
As an affiliate, we earn on qualifying purchases.
What Are the Best Assisted Pull-Up Methods for Beginners?
Are you struggling to complete your first unassisted pull-up? Assisted pull-up methods are perfect for building muscle activation and improving grip strength. The most common option is using resistance bands, which provide support and help you gradually lift your body weight. They allow you to focus on proper form while reducing the load. Another effective method is an assisted pull-up machine, where you can control the amount of assistance, making it easier to develop strength over time. Partner-assisted pull-ups are also valuable; having someone help you can target muscle activation and build confidence. Battery inverter generators are an example of reliable power sources that can support your training equipment, ensuring uninterrupted exercise sessions. Whichever method you choose, consistency is key. These assisted techniques enable you to develop the strength needed for unassisted pull-ups while protecting your muscles from overexertion.
How to Use Negative Pull-Ups to Build Eccentric Control and Strength
Negative pull-ups focus on controlling your descent to develop strength and improve your muscle control. By emphasizing eccentric control, you train your muscles to handle the lowering phase smoothly. To maximize benefits, start at the top of a pull-up and lower yourself slowly over 3-5 seconds. This slow descent enhances muscle engagement and builds strength effectively. Use a sturdy object or a partner to help you reach the starting position if needed. Incorporate negative pull-ups into your routine regularly, and you’ll notice improved control and strength over time. Remember, consistency is key to mastering muscle engagement and progressing toward full pull-ups. Embracing natural wellness principles can also support your training recovery and overall fitness journey.
Progress to Band-Assisted or Chair-Assisted Pull-Ups Safely
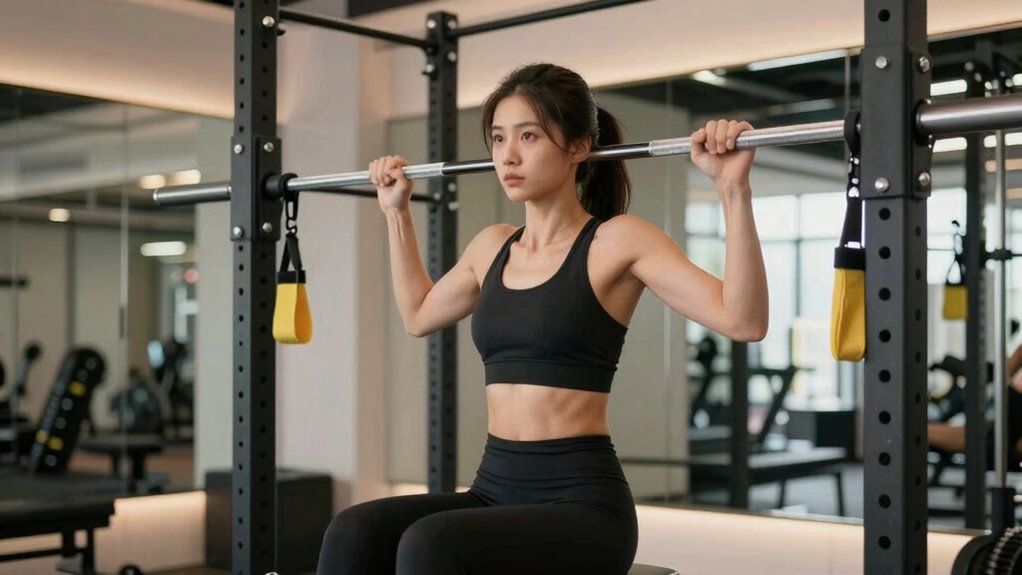
When shifting to band-assisted or chair-assisted pull-ups, focus on maintaining proper technique and good form. Use gradual load reduction strategies to prevent injury and build strength steadily. This approach guarantees a safe and effective progression toward unassisted pull-ups. Monitoring your healing progress and ensuring your body responds well to increased load are essential steps in this process.
Proper Technique and Form
To guarantee you perform band-assisted or chair-assisted pull-ups safely, focus on maintaining proper technique and form throughout each repetition. Engage your core to support your spine and prevent swinging, ensuring controlled movement. Keep your shoulders stable by retracting and depressing the shoulder blades, which reduces strain and promotes shoulder health. As you pull, lead with your chest rather than your hips or legs, and avoid overextending your neck. Maintain a neutral head position with your gaze forward or slightly upward. Use a slow, controlled tempo to maximize muscle engagement and minimize momentum. Consistently practicing proper form helps build strength safely and lays a solid foundation for progressing to unassisted pull-ups. Incorporating proper equipment like resistance bands or chairs can support your training and reduce injury risk.
Gradual Load Reduction Strategies
As you work toward unassisted pull-ups, gradually reducing the load helps prevent injury and build strength safely. Moving from band-assisted or chair-assisted pull-ups allows you to maintain proper muscle activation while easing into full bodyweight reps. Focus on grip strength, as a stronger grip supports better control and stability during each repetition. To progress safely:
- Use lighter resistance bands or lower chairs gradually, monitoring your form.
- Increase repetitions slowly to build endurance without overloading muscles.
- Incorporate isometric holds to strengthen supporting muscles and improve muscle activation.
- Pay attention to training progression principles to ensure steady and safe improvement.
These steps help your body adapt incrementally, reducing strain and ensuring consistent progress toward unassisted pull-ups. Patience and controlled movements are key to maximizing safety and strength gains.
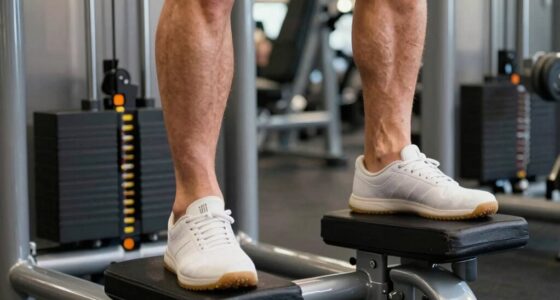
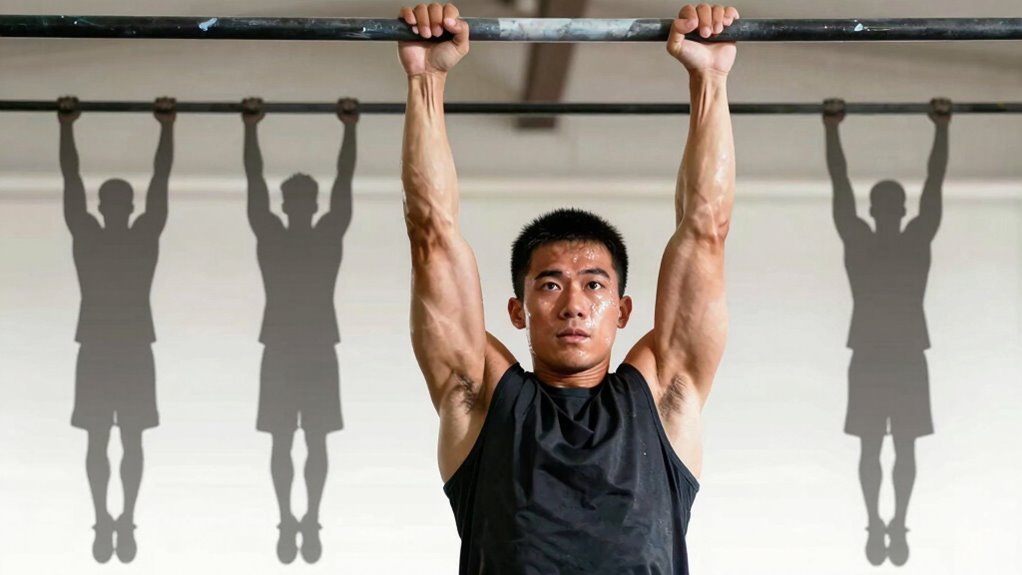
How to Practice Dead Hangs and Isometric Holds to Boost Endurance
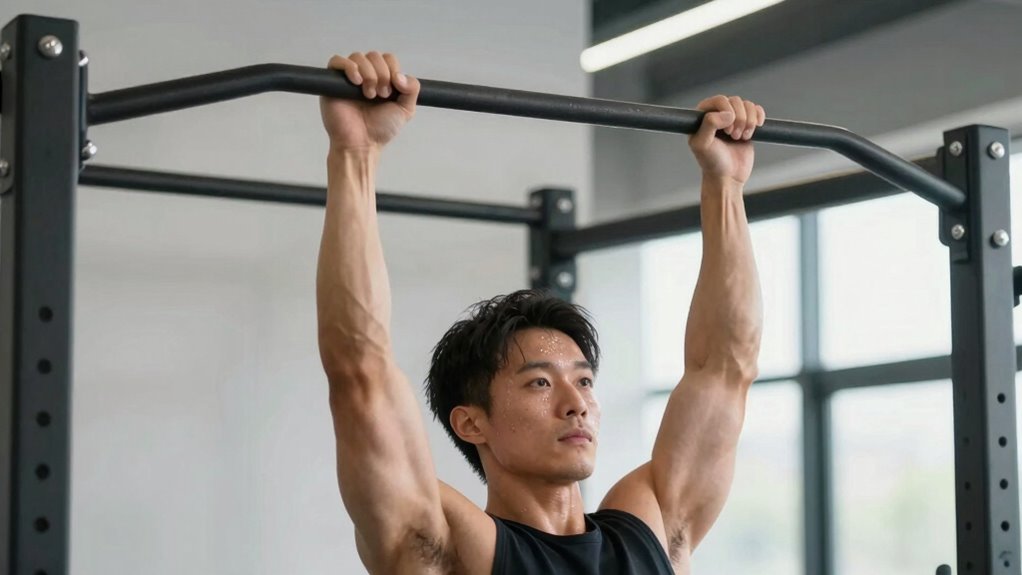
To improve your endurance with dead hangs and isometric holds, focus on maintaining a proper grip to prevent slipping. Increase your hang durations gradually to build strength without risking injury. Consistent practice of these holds will help you develop the stamina needed for more challenging pull-up progressions. Incorporating adaptive training techniques can further optimize your progress and prevent plateaus.
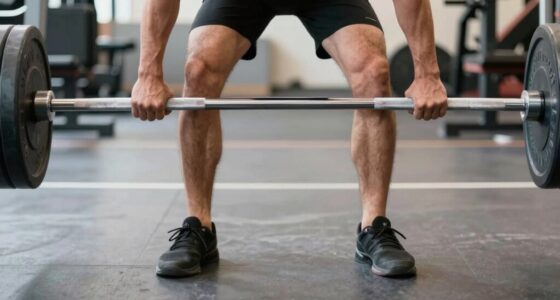
Proper Grip Technique
Mastering proper grip technique is essential for building endurance during pull-up training. Your grip width influences your comfort and muscle engagement, so find a position that feels stable yet allows full shoulder movement. Keep your thumb placement secure; wrapping your thumbs around the bar provides extra control and reduces slipping. When practicing dead hangs and isometric holds, focus on maintaining a consistent grip without unnecessary tension. Additionally, paying attention to dark psychology tactics can help you stay mindful of mental distractions or manipulative influences that might undermine your focus during training sessions.
- Adjust your grip width gradually to avoid overstressing your tendons
- Ensure your thumb wraps fully around the bar for better grip security
- Maintain a relaxed but firm grip to prevent fatigue early in your holds
Gradual Hang Duration Increase
Building endurance through dead hangs and isometric holds requires gradually increasing your hang durations over time. This method enhances muscle activation in your forearms, shoulders, and back, building the stamina needed for pull-ups. Start with manageable durations, such as 10 to 15 seconds, and focus on maintaining a firm grip to improve grip strength. As you become more comfortable, extend your hang times by a few seconds each session. Consistent, incremental increases challenge your muscles without risking injury, leading to better endurance and control. Remember to breathe steadily and avoid unnecessary tension in your shoulders and arms. Over time, this steady progression will develop the grip strength and muscle endurance essential for progressing to full pull-ups. Incorporating proper technique into your practice ensures you optimize gains and minimize the risk of strain.
Consistent Isometric Practice
Consistent isometric practice is essential for increasing your pull-up endurance. By regularly holding dead hangs and isometric positions, you build grip strength and muscle stamina. To maximize results, incorporate dynamic stretching before each session to warm up your muscles and improve flexibility. Nutritional support, like protein intake and proper hydration, fuels your recovery and enhances performance. Focus on maintaining proper form during holds, gradually increasing duration over time. Remember, consistency is key—skipping sessions slows progress.
- Develop mental resilience by setting small, achievable goals during each hold
- Recognize the importance of recovery and rest days for muscle adaptation
- Use targeted nutrition to accelerate endurance improvements and prevent injury
How to Set Realistic Goals and Track Your Pull-Up Progress
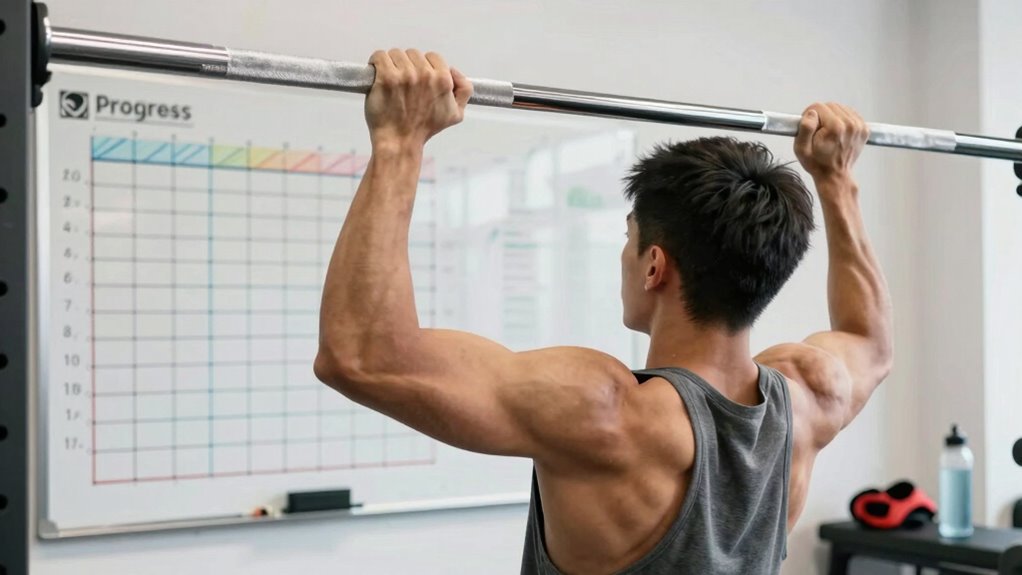
Setting realistic goals is essential for making steady progress with your pull-up journey. Start by defining clear, achievable targets based on your current strength. Use goal setting to stay motivated and focused. Regular progress tracking helps you see improvements and adjust your plan as needed. Break large goals into smaller milestones to maintain momentum. Here’s a simple way to visualize your progress:
| Goal Type | Example | Time Frame |
|---|---|---|
| Short-term goal | Do 3 pull-ups in a row | 2-4 weeks |
| Long-term goal | Perform 10 pull-ups consecutively | 3-6 months |
| Weekly progress | Increase reps by 1 each week | Weekly |
| Daily practice | 5-minute scapular pull-ups | Daily |
Tracking these metrics makes your goals tangible and achievable.
Common Mistakes to Avoid When Training for Your First Pull-Up
Many beginners make common mistakes that hinder their progress when training for their first pull-up. One major error is overtraining pitfalls, which can lead to fatigue and injury. Pushing too hard without adequate rest slows your gains and increases injury risk. Another mistake is using incorrect grip techniques, which can strain your wrists and shoulders or reduce efficiency. Focus on a proper grip that feels comfortable and supports correct movement patterns. Finally, neglecting proper form and rushing the process can cause setbacks. Avoid these pitfalls by listening to your body, practicing correct grips, and allowing enough recovery time. Staying mindful of these mistakes ensures steady progress and helps you reach your first pull-up safely and effectively.
Tips to Stay Motivated and Consistent on Your Pull-Up Journey
Staying motivated and consistent is key to making progress on your pull-up journey, especially after avoiding common mistakes that can slow you down. To keep your motivation high, try motivation techniques like setting small, achievable goals and tracking your progress. Celebrate each milestone to boost your confidence. Incorporate consistency strategies such as scheduling regular workouts and creating a workout plan you enjoy. Find a workout buddy or join online communities to stay accountable and inspired. Remember, progress takes time, so be patient and focus on steady improvement. When you face setbacks, remind yourself of your reasons for starting and stay committed. With these motivation techniques and consistency strategies, you’ll keep moving forward and eventually reach your pull-up goals.
Frequently Asked Questions
How Long Does It Typically Take to Achieve My First Pull-Up?
You can typically achieve your first pull-up in 4 to 8 weeks, but training duration varies based on progress factors like your strength level, consistency, and technique. If you train regularly with targeted exercises and focus on building upper body and core strength, you’ll see faster results. Remember, patience and persistence are key—everyone’s journey is different, but steady effort will get you that first pull-up sooner than you think.
Can I Do Pull-Ups Every Day or Should I Rest?
Think of your muscles as a garden; they need time to recover and flourish. You shouldn’t do pull-ups every day, as overworking can lead to injury and slow progress. Rest days allow your muscles to repair and strengthen, preventing setbacks. Prioritize recovery time and listen to your body, so you build strength steadily without risking injury. Balance training and rest for sustainable progress and healthier gains.
What Are Common Injuries Associated With Pull-Up Training?
You might experience muscle strain or shoulder impingement if you push too hard or use improper form during pull-up training. To avoid these injuries, warm up properly, focus on controlled movements, and don’t overtrain. Pay attention to any pain or discomfort, especially in your shoulders, and give yourself adequate rest. Listening to your body helps prevent injury and guarantees safe, effective progress.
How Do I Modify Pull-Ups for Different Fitness Levels?
To modify pull-ups for different fitness levels, you can use assisted variations like resistance bands or a pull-up assist machine. If you’re a beginner, start with resistance bands to reduce the load and build strength gradually. As you progress, decrease the band’s resistance or try negative pull-ups, where you focus on lowering yourself slowly. These modifications help you develop proper form while safely increasing your strength.
Do I Need Special Equipment to Start Practicing at Home?
You don’t need special equipment to start practicing at home. Using bodyweight exercises, you can build strength and progress with minimal gear. A sturdy door frame, a pull-up bar, or even a set of resistance bands can help you perform effective workouts. Focus on bodyweight exercises that target your back and arms. With consistent effort, you’ll improve your pull-up skills without expensive or bulky equipment.
Conclusion
Remember, nearly 50% of adults can’t do a single pull-up, but with consistent effort, you can beat those odds. Staying patient and motivated is key, and tracking your progress keeps you focused. Every small step counts—whether it’s mastering assisted reps or holding a dead hang. Before you know it, you’ll be crushing your first pull-up and feeling stronger than ever. Keep pushing, and your goal is well within reach!